

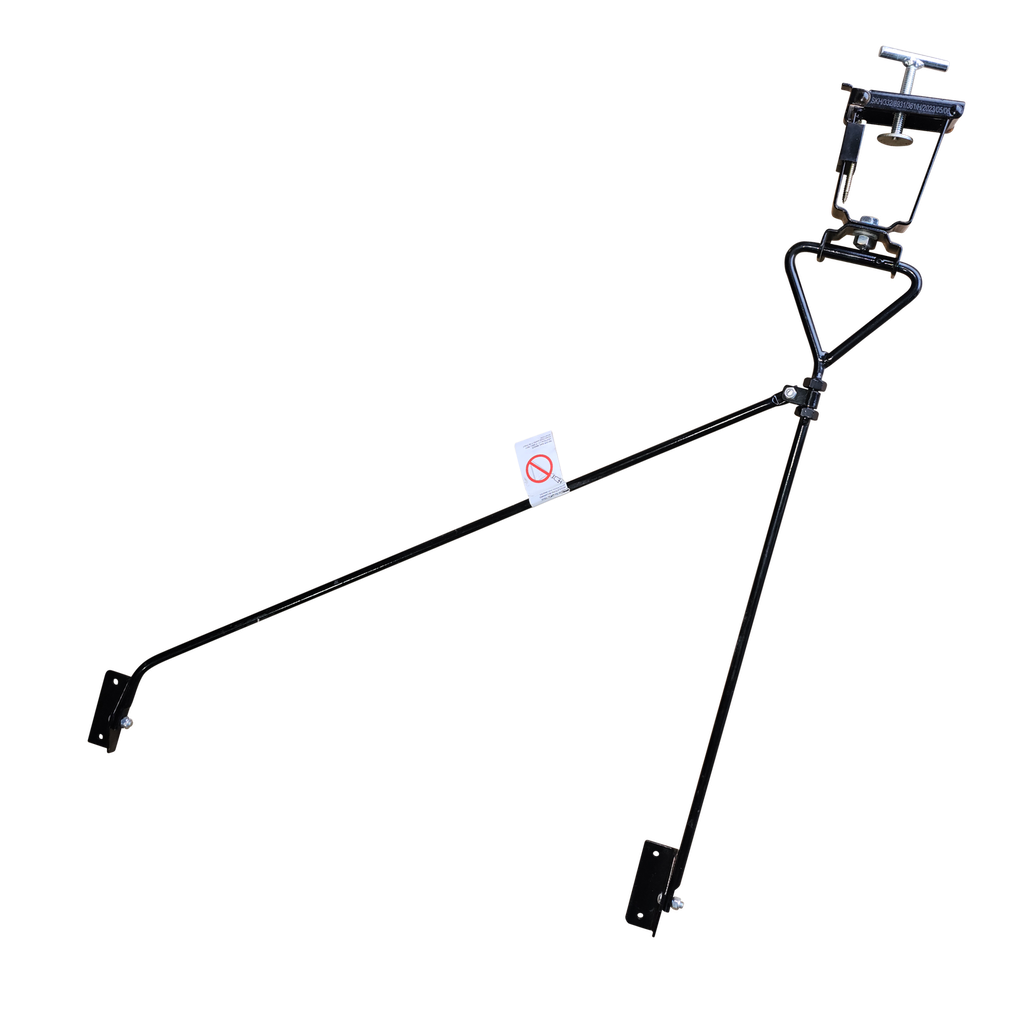


Why Choose Our Pump Jack Steel Brace?
Secure Mounting: Heavy-duty aluminum construction ensures firm attachment of your Pump Jack poles to the structure (wall or roof).
Adjustable and Versatile: Designed to fit different roof pitches and working heights, ideal for roofing, siding, and exterior finishing work.
Corrosion-Resistant Finish: Powder-coated surface protects against rust and harsh weather for long-lasting durability.
Built for the Job Site: Rugged, professional-grade design engineered for intensive, repeated use on demanding construction sites.


FAQ Anchoring
This FAQ answers the most common questions regarding its use, installation, and maintenance.
To secure a Pump-Jack lift system to a wall.
No. Only one brace is required up to 24 ft in height. Then, add an additional brace every 16 ft of height. Refer to the manufacturer’s technical sheet for full specifications.
Most houses are covered with asphalt shingles.
You can screw directly through the shingle, but always check the roof structure’s strength before using the Pump Jack system.
After removing the brace, seal the screw hole with roofing pitch or silicone, then replace the top shingle or insert a small piece of aluminum sheet under the shingle to maintain proper waterproofing on pitched roofs.
⚠️ Using only silicone or pitch is not sufficient for long-term sealing.
Visible screws:
Cut a 4 ft × 4 ft plywood panel.
Mark the screw locations on the plywood (by pressing firmly against the surface or using chalk line powder on the screw heads before positioning the panel).
Then, remove the screws from the roof and fasten the plywood back using the same holes.
We recommend a minimum of six (6) screws to secure the plywood firmly.
Next, screw the brace onto the plywood. If your screws are too long, add wooden shims or blocks under the plywood to prevent piercing through the metal roofing.
Hidden screws:
Attach the brace to the fascia or under the soffit.
Once the system is removed, use a ladder or lift to reinstall any missing pieces and complete the waterproofing.
Minimum 1 per Pump Jack pole.
Yes, the brace comes with a rubber screw mount and four (4) screws.
Alternative products
These other products may interest you